Planning gives direction to your homeschool. Organizing helps you accomplish your plan. Follow these tips for a homeschool year that allows for greater enjoyment and spontaneity.
Table of Contents[Hide][Show]
Some of the links in this post are affiliate links. Learn more in my disclosure policy.
Plan ahead.
As much as is possible, complete all of your homeschool planning before the school year begins. This can be time consuming, but it really reduces stress during the homeschool year.
Planning is step 7 of How to Homeschool: A Step-by-Step Guide for Beginners. First make sure you’ve determined your local requirements (step 1), discovered your homeschool style (step 2), and gathered your resources (step 5).
Decide on a schedule.
Grab your calendar and add any known or probable events that happen during a typical week. You may or may not know exactly when these weekday events will occur. Just being aware of these activities will help you with scheduling.
In our homeschool schedule, I know that I will need to leave room for these outside activities.
- Homeschool co-op: two to three Friday mornings each month from September to April (with fewer meetings in December and January).
- Swim lessons: about 1.5 hours a week to allow for commute time and the lesson itself.
- Field trips: I will add these to our calendar throughout the year as I am able. However, I will skip any field trips that would overwhelm our schedule.
Based on the extras that I incorporate into our homeschool week, I’ve opted for a 4-day schedule. The additional wiggle room it provides also means that I can say “yes” to socializing with family and friends more often.

Complete your lesson plans.
Many curriculum choices include weekly or daily lesson plans. Others do not. Our homeschool uses a mix of resources, so each year I make sure that I have a lesson plan for every resource.
Open-and-Go Lesson Plans
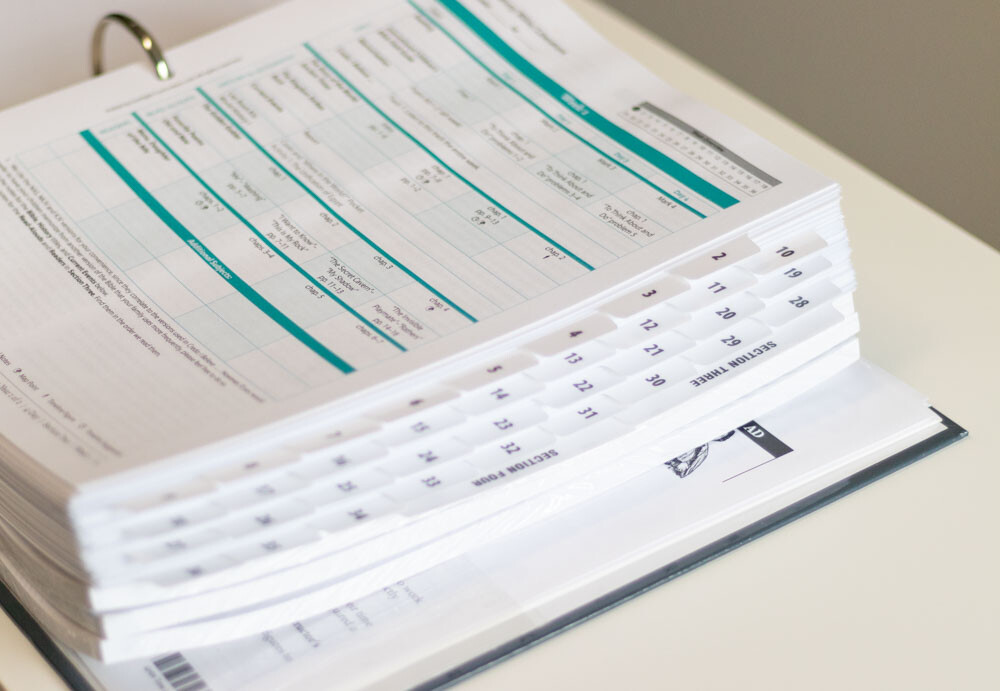
Instructor’s guides that come with a well-planned schedule are a homeschool parent’s best friend. Our history, literature, and science programs include guides that are already divided into 36 weeks (the typical school year). Each week is further broken down into four days of complete lesson plans.
Even though these instructor’s guides are essentially open-and-go, you should still do these three things before the school year begins.
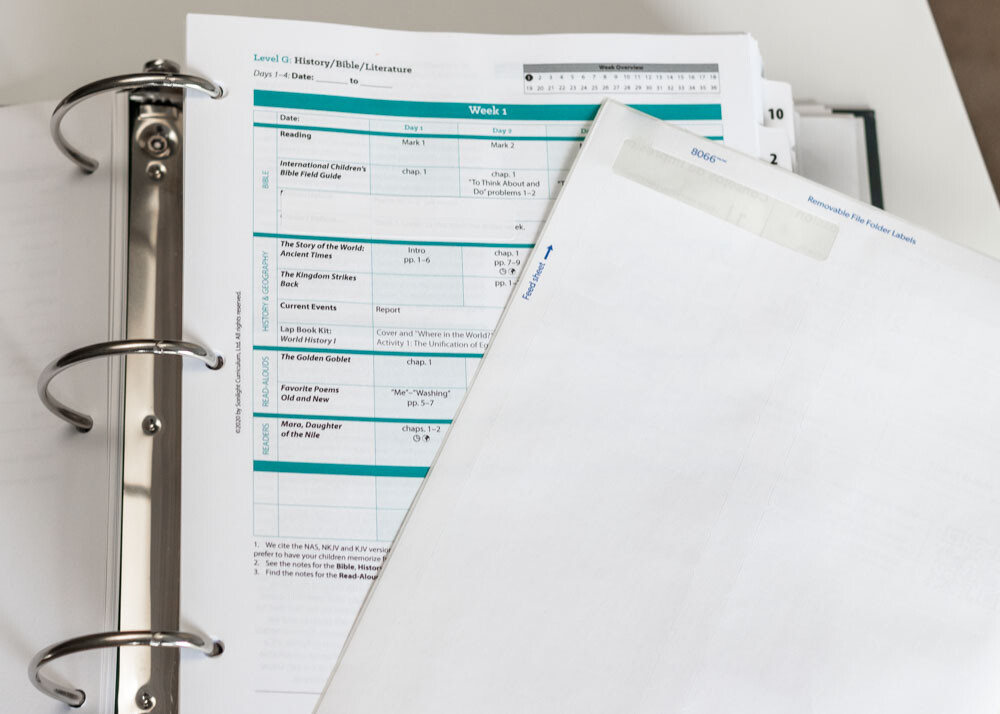
1. Review the plans and make adjustments if needed.
Curriculum companies often include optional activities to satisfy a wider audience. If these are distracting and you don’t plan to use them, cross them out with a pencil or cover them with removable labels.
You can also take this opportunity to see if you want to move anything around in the schedule. Remember that the lesson plan schedule is there to help you. You do not have to do everything on that schedule. You are free to make changes anytime.
2. Prepare activities ahead of time.
We use the lap book kits that come with our open-and-go curriculum. To make my homeschool year easier, I prepare the lap book kits ahead of time.
3. Preview independently-used resources.
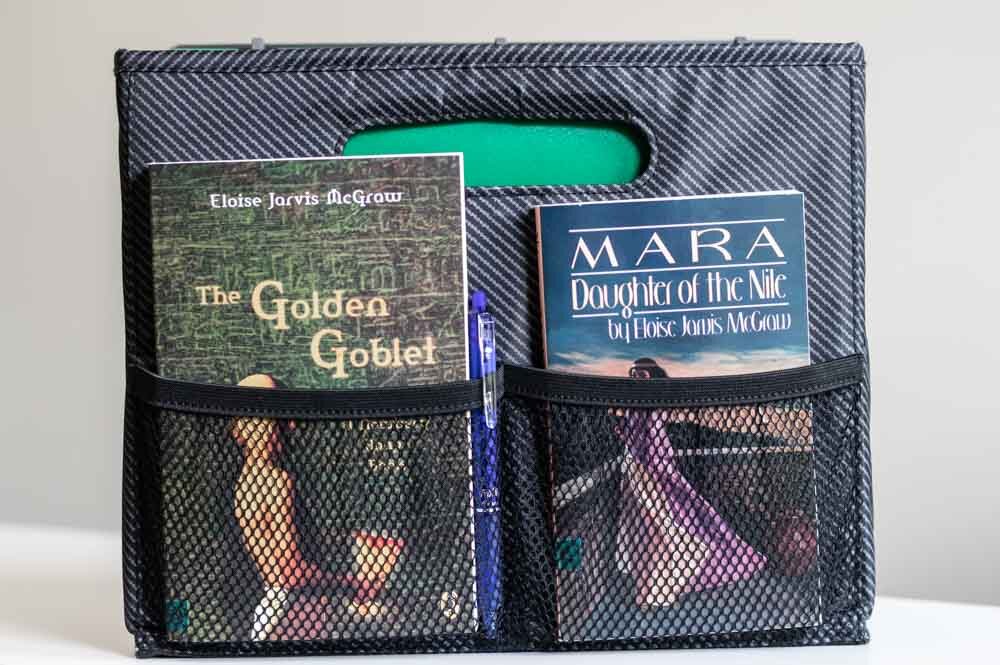
If your child is old enough to do some school work independently, you may want to preview some of those resources. In our homeschool, I’m attempting to read my son’s readers ahead of time for two reasons. First, I want to know if there are any plot lines that are not in line with our family values. Second, I don’t want to miss out on another great book. Thus far, I’m happy to say that reason one hasn’t been an issue.
Curriculum Without Lesson Plans
Many homeschool resources do not have set lesson plans. This can be very freeing as it gives you more fine-tuned control. You can choose to move at a faster or slower pace based on your child’s ability and comfort level.
For most of our curriculum resources, I try to have my children complete one level per year. Thus, I create a schedule based on how the lessons can be broken down throughout the school year.
- Math
- Our curriculum has 30 lessons per year. We generally complete one lesson per week, but we can take longer if needed.
- We watch the new lesson on DVD on Mondays and complete two worksheets each day. On Thursdays my children complete the last worksheet and take their tests. Unit tests (four per year) usually take place on Fridays.
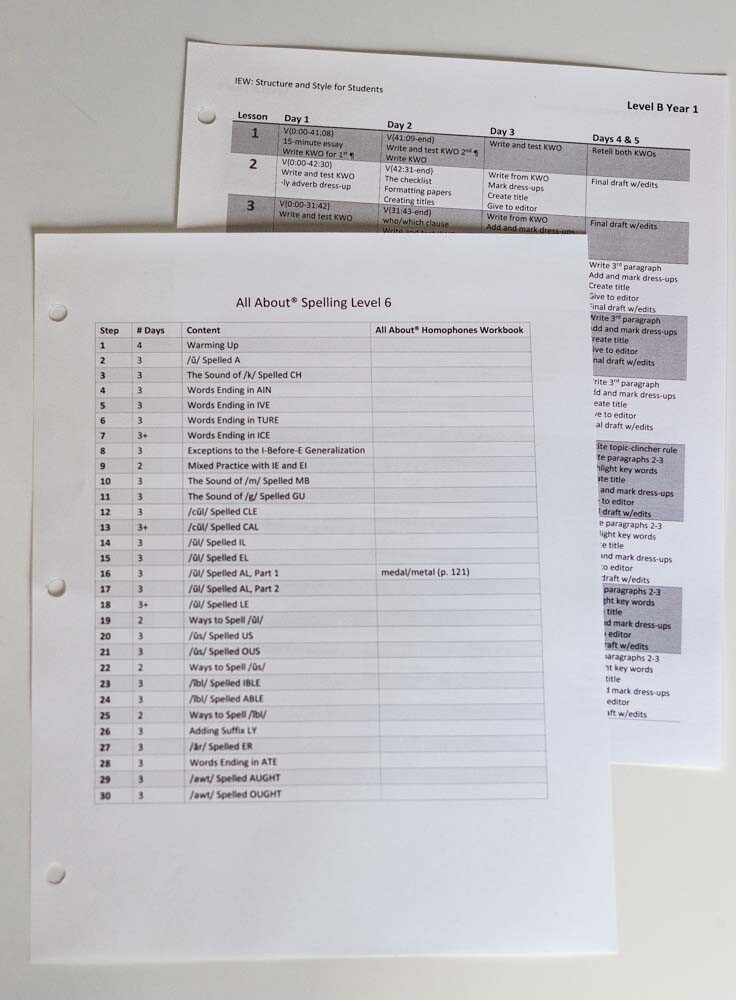
- Spelling
- The number of lessons varies with each level, but the maximum is 30. As with math, we try to complete one lesson per week.
- Before the school year, I use a pencil to divide each lesson in my teacher’s guide into daily chunks. We spend between two to four days on spelling each week.
Your curriculum may not break down into weekly lesson plans so easily. In this case, decide if you plan to cover the entire resource in one year. If so, look for logical divides. For example, a math program with 140 lessons might break down into four lessons per week with a test on Fridays. If you want to cover a book of poetry in one year, divide the number of poems by 36 (or the number of weeks in your school year), and decide how many poems to read each week.
Hybrid Lesson Plans
Some programs come with lesson plans that may not fit your schedule. Or these lesson plans may move at a faster or slower pace than you’d like. Our writing program for this year includes 24 lessons on DVD and a 4- to 5-day schedule. The weekly syllabus appears ambitious for a 4-day schedule and may at times be too much for a 5-day schedule.
Because I don’t have time to preview 24 one-hour lessons, I’m going to have to play this one by ear. Since my history, literature, and science curriculum follows a 36-week schedule, I have wiggle room even if I want to stick to a 4-day week. If the writing assignments in any given week take longer than four days, we’ll just keep going into the following week. This may mean starting a new lesson mid-week, and that’s okay.
Not Everything Has a Scheduled Completion Date
Andrew Pudewa of the Institute for Excellence in Writing (IEW) gives such compelling talks at the Great Homeschool Convention that he convinced me that my kids could master up to 100 poems and speeches. Whether they will actually do so remains to be seen, but so far I’m quite impressed with their memories.
Trying to schedule exactly when my kids will master their next poem is neither possible nor enjoyable. So I don’t try. We simply add the next poem when they are ready. They move at their pace. If we never complete the program, they will still have achieved an amazing accomplishment.
Do you have any homeschool resources that fit this model? Perhaps it’s learning to cook or sew or play the piano. Or it could be more academic like learning to read. Consider how best to practice these skills on a regular basis so that progress is made, but don’t require a pace that exceeds your child’s ability.
Week-at-a-Glance Lesson Plan Printouts
Over the years I’ve found that I’m most efficient if I make a printout for each subject whose lesson plans aren’t set to automatically repeat each week. For example, after I divide our spelling lessons into daily chunks, I simply create a chart that shows how many days I plan to spend on each lesson. I then store this printout in my teaching binder for quick reference during the school year.
Allow for flexibility.
Flexibility is key to homeschooling. You are going to have unexpected events pop up more often than you might think. For this reason, I tend to prefer curriculum choices that don’t completely fill a 36-week calendar. Thirty weeks or less is my ideal.
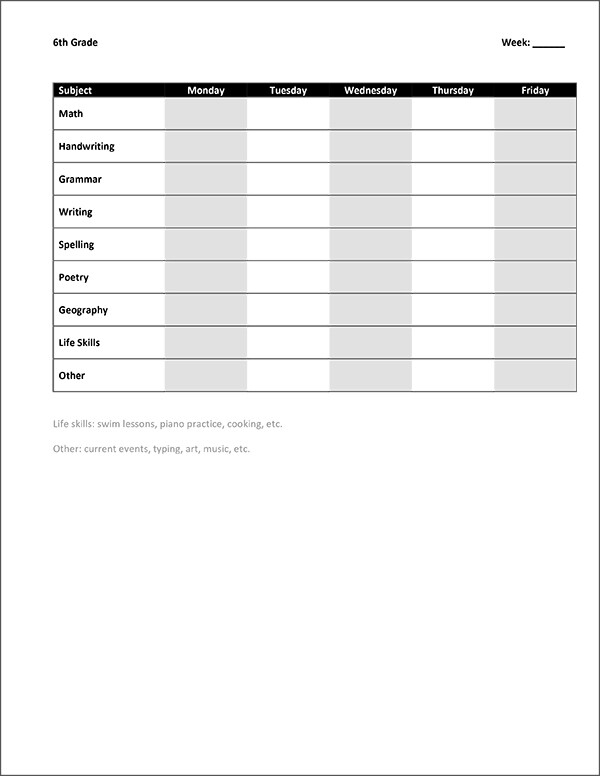
Resist the urge to schedule everything to the daily level ahead of time. Each school year I print 36 copies of a blank weekly schedule. I do not fill in that schedule until Friday of the previous week. This allows me to both schedule around upcoming events and provide extra time for anything we didn’t complete the previous week.
When you do make your weekly schedule, consider pencil or erasable pen. With homeschooling anything is subject to change at a moment’s notice.
Get organized.
Every homeschool is different. Yet every homeschool needs some level of organization. If the ideas below resonate with you, consider using them. Otherwise, stay on the lookout for organizational methods that make sense for your household.
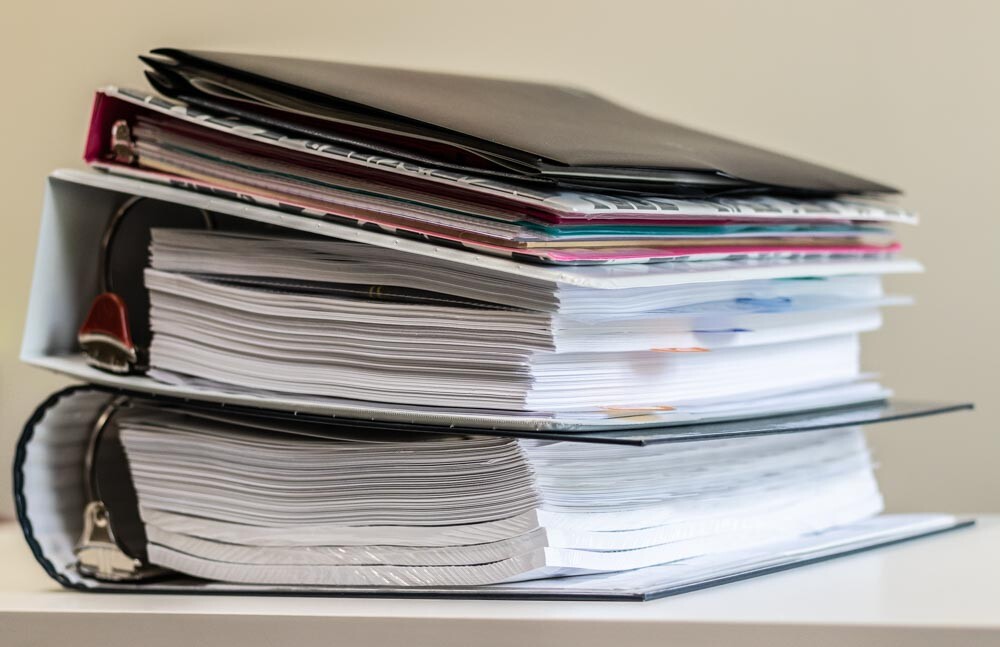
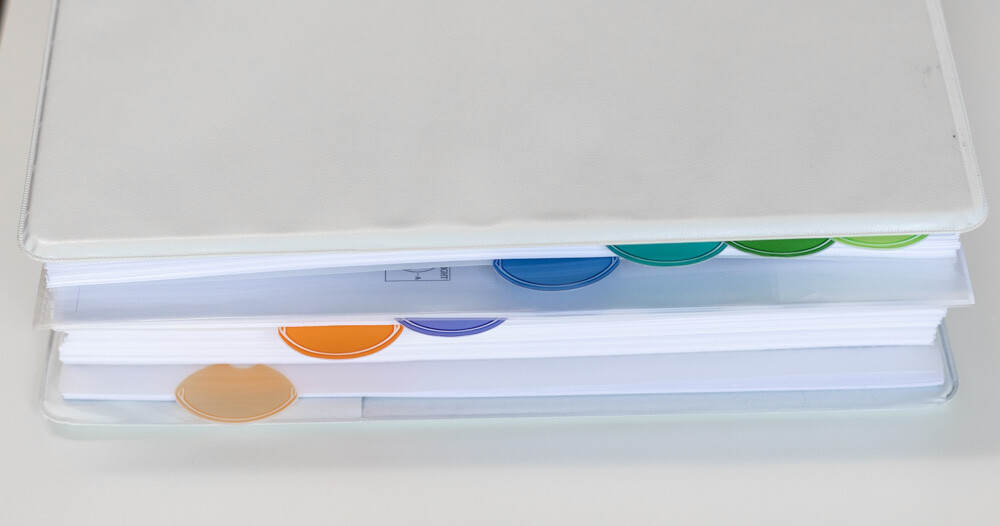
1. Create a portfolio binder for each child.
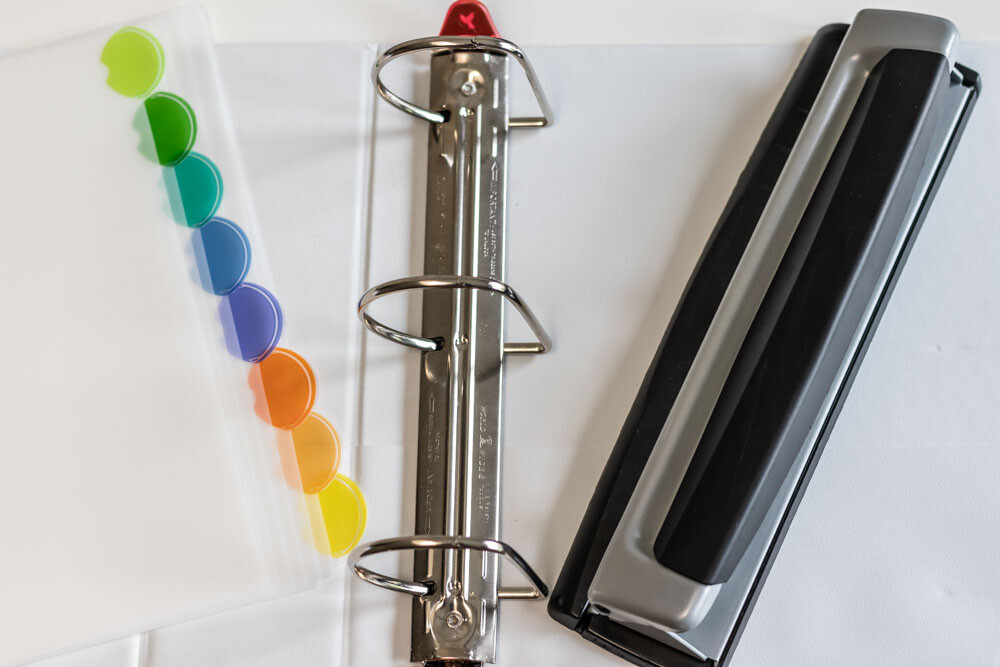
Even if your state doesn’t require a portfolio assessment, this binder will help you stay organized. You will need a 2- or 3-inch binder, tabbed dividers, and a three-hole punch.
2. Add all worksheets to the binder.
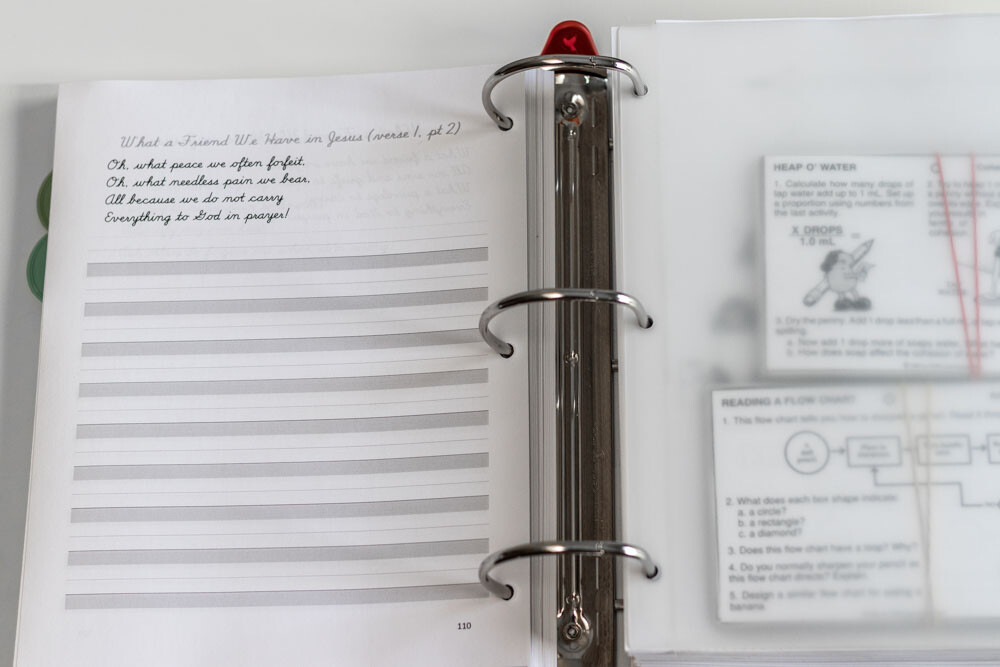
Gather or print all worksheets your child will complete this school year. I remove all tear-out worksheets from workbooks like math and handwriting. Place each set of worksheets in the binder, and use the tabbed dividers to separate the subjects.
Make sure that the worksheets are in the order you plan to use them. Because I assign our math worksheets out of order, I reorder them before placing them in the binder.
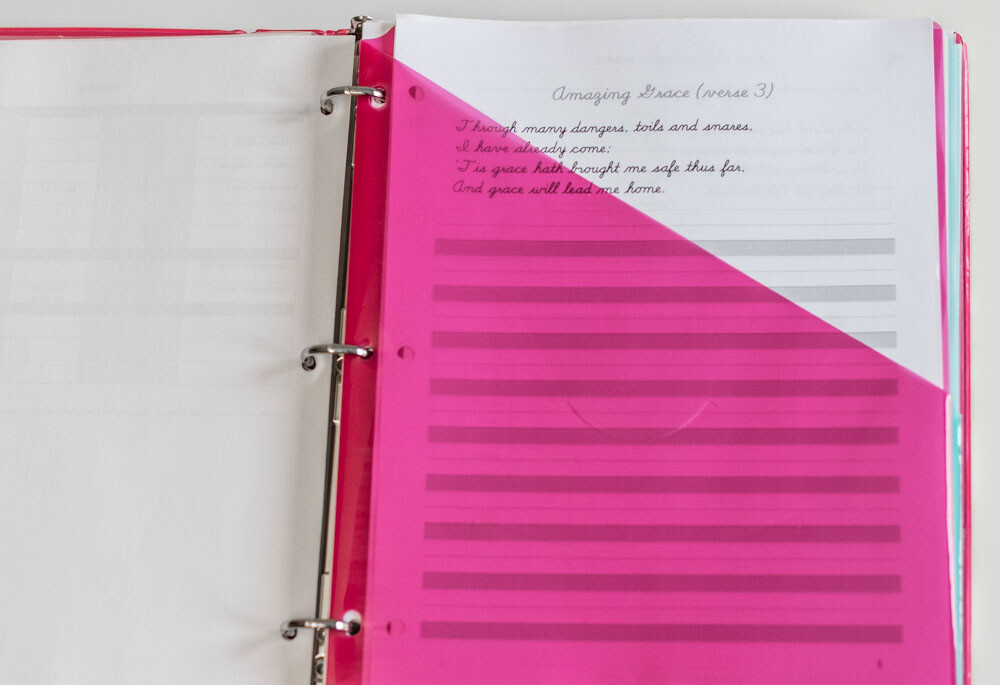
Use sheet protectors for any pages that shouldn’t be hole-punched. You can also use sheet protectors to store multiple pages for one activity (e.g., a lap book).
Exceptions:
There may be some workbooks that you’d rather keep intact. That’s fine. I do this with Explode the Code workbooks for a couple of reasons. First, my child may have to refer back to a previous worksheet to figure out what word a picture represents. Second, I recycle these when we are finished with them rather than waiting for the portfolio assessment.
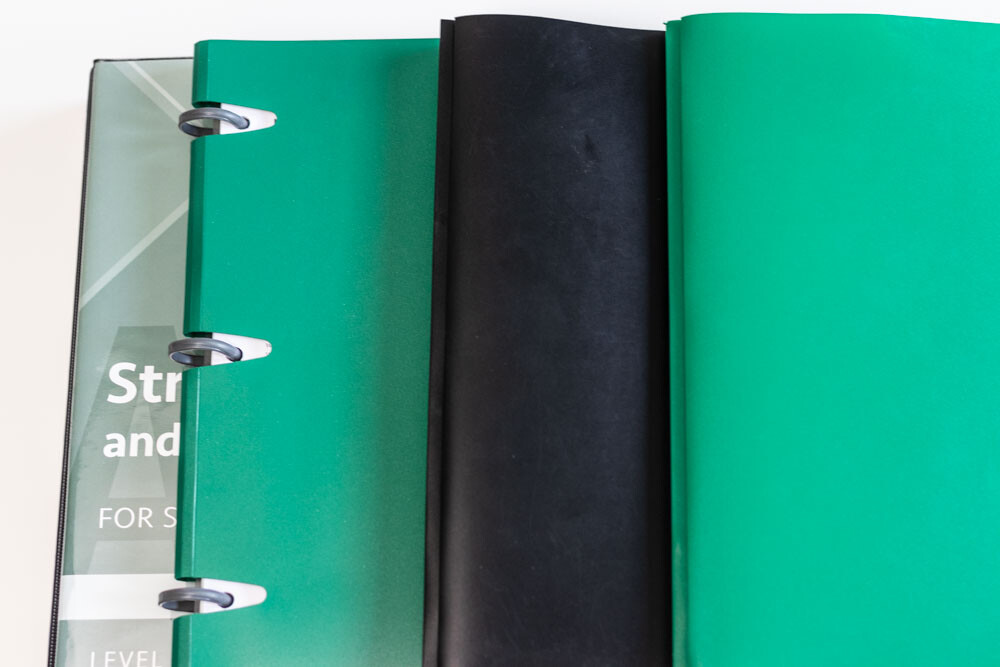
Another exception is our writing program. It comes with its own binder, and all required worksheets for the year are stored in that binder.
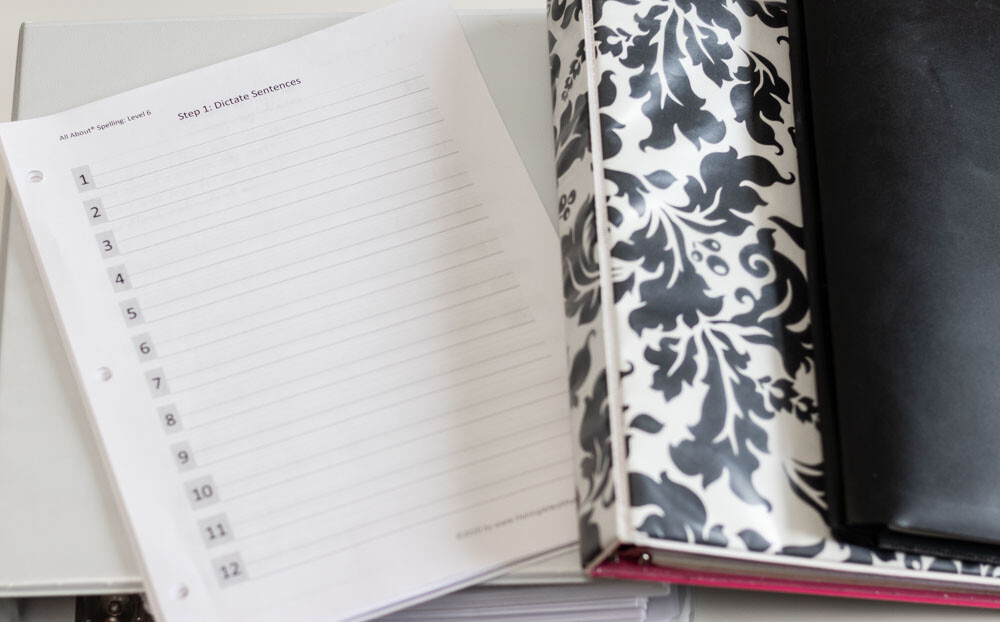
3. Create a teaching binder.
If it works with your curriculum, a teaching binder will help you stay organized on a daily and weekly basis. I’ve used a 1.5-inch binder for up to three students. Your binder may be larger or smaller depending on your needs. Since it’s referenced every day, I probably wouldn’t go above a 2-inch binder.
Divide your teaching binder into sections for each student. I recommend slash pockets with a different color for each child. Tabs are optional for these dividers. Even if you are teaching only one child, you’ll still want a slash pocket divider.

Place your teaching plans for the next 1-4 weeks behind these slash pocket dividers. Your week-at-a-glance lesson plan printouts also belong here.

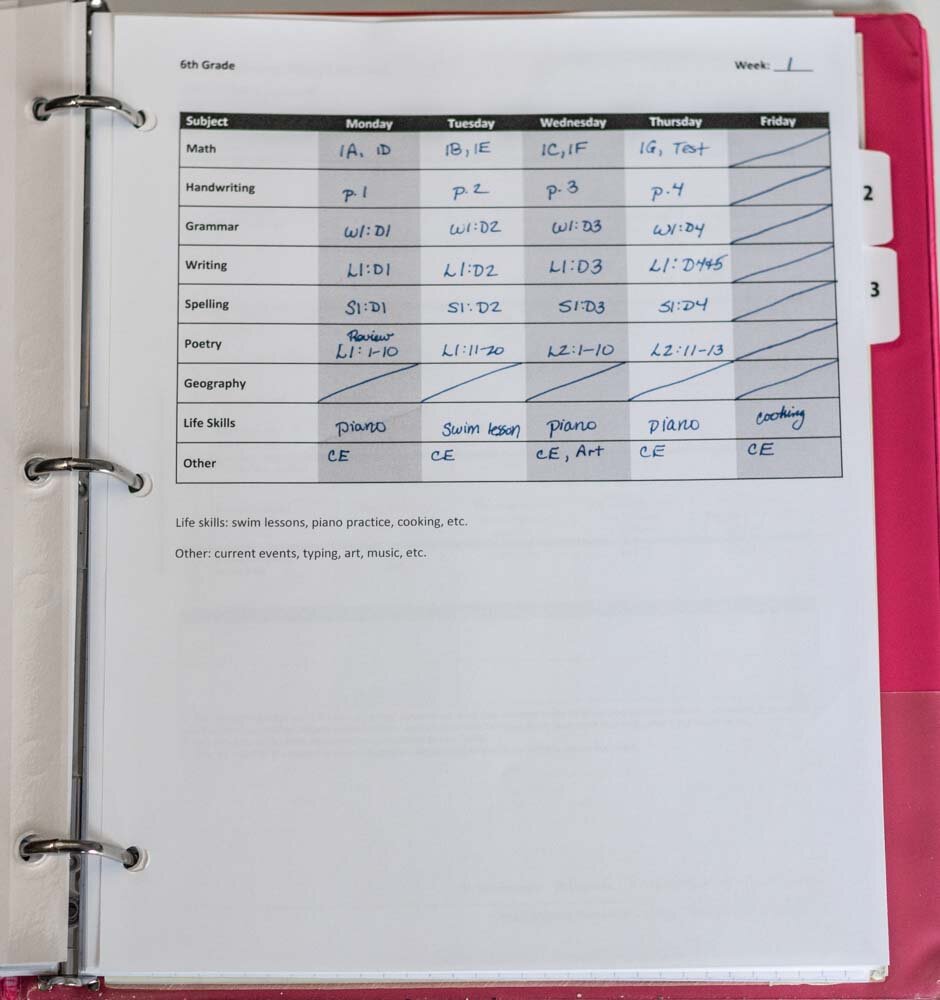
4. Tentatively schedule your first week.
If you have multiple curriculum resources that didn’t come with a weekly schedule, now is the time to fill in your chart for week one. This is a tentative schedule. Doing this will help you see if you’ve forgotten to add or prepare anything. It will also help you get a feel for how full your schedule is.
Now, open your child’s portfolio binder and pull out all the required worksheets for week one. Then transfer these sheets to the slash pocket for that child. There is no need to sort these by scheduled day. I keep mine grouped by subject.
Note: Some homeschool families implement a staggered start to the school year. If you have any curriculum resources that don’t require a full 36-week schedule, you might delay the start of one or more of those subjects. This allows you and your children to ease into the school year.
5. Create a daily folder for each child.
The secret sauce to better homeschool days is the daily folder. I discovered this method from Sarah Mackenzie’s Read-Aloud Revival, but I use a two-pocket fastener folder rather than a spiral notebook. You can use the daily folder method even if your child can’t read yet.
Add 20+ sheets of college-ruled notebook paper to the center of the folder. You want enough sheets so that you’re not changing them out too often but not so many that you can’t close the fasteners. I also add the binder-sized maps that come with our curriculum and a zippered pouch to this section.
Now write out your child’s schedule for Week 1: Day 1 on the first sheet of notebook paper. Remember to use a pencil or an erasable pen. I use Sarah’s double box method for items that I need to check, but I place both boxes before the assignment. My child fills in the first (or only) box after completing an item, and I fill in the second box once I’ve reviewed it.
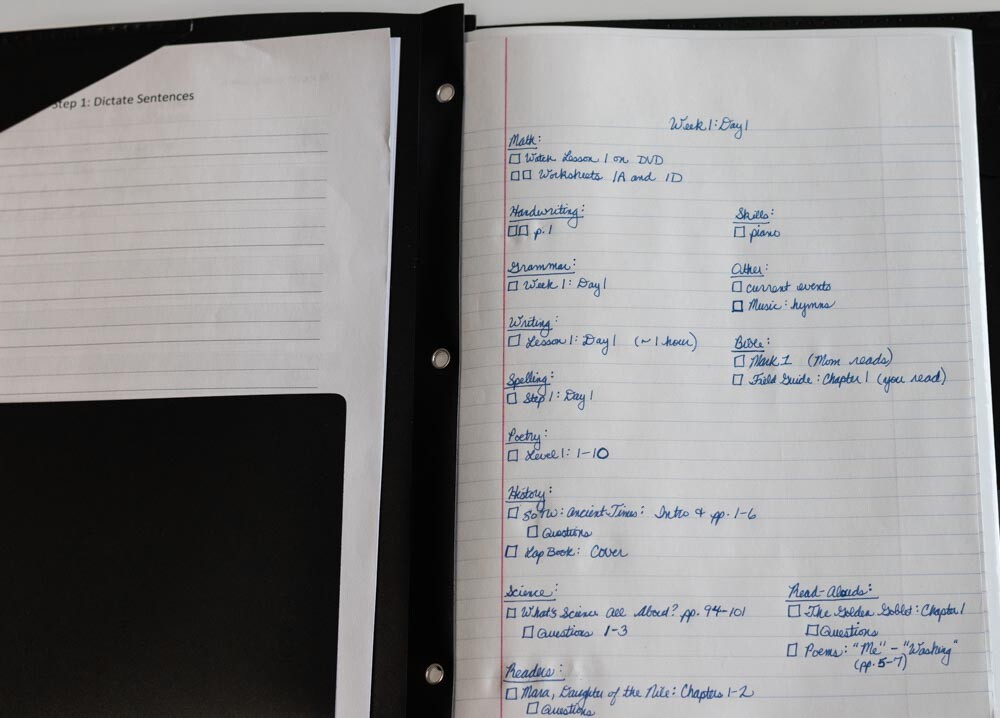
Once you’ve completed the schedule for Week 1: Day 1, pull the worksheets you’ll need for that day from the slash pocket of your teaching binder and put them in the left-side pocket. The right-side pocket is where your child will put completed work.
Each day after you’ve checked your child’s work, add the next day’s schedule to the following notebook page. Make sure all completed work is in the right-side pocket. Transfer any new worksheets required for the next day from the slash pocket in the teaching binder to the left-side pocket of this folder.
Keep in mind that the daily folder is a tool to serve you. If you have subjects that are better stored in a different way, don’t feel like they have to fit this method. I incorporate other folders and binders for my children as necessary.
6. Keep a working bin for each child.
If your child will use several books throughout the day, I recommend having a bin or tote dedicated to that child’s school books. With a literature-based curriculum and multiple children in school, these bins keep us organized throughout the week.
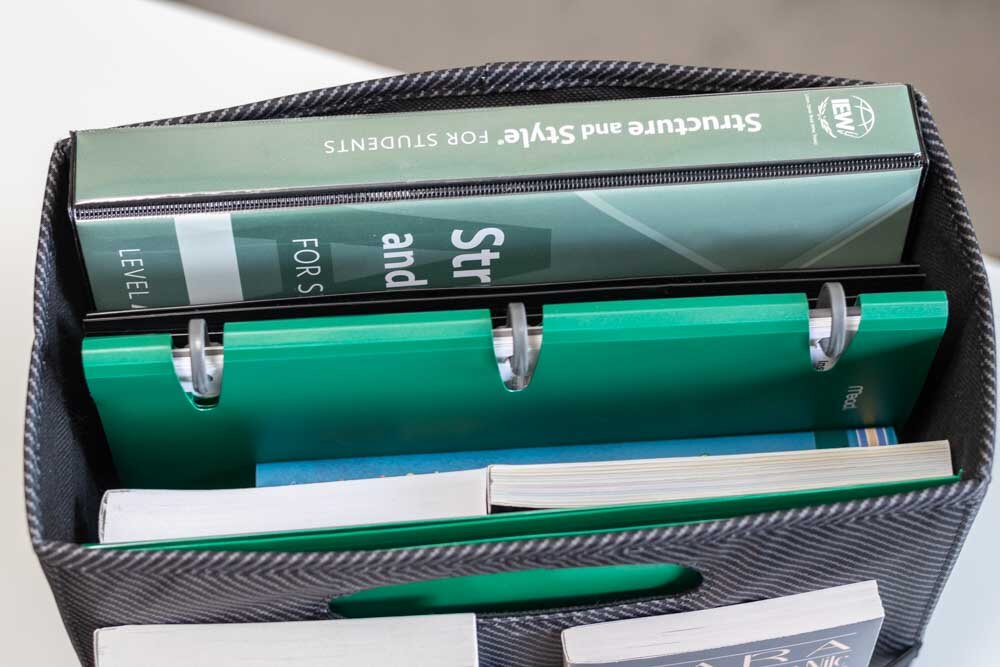
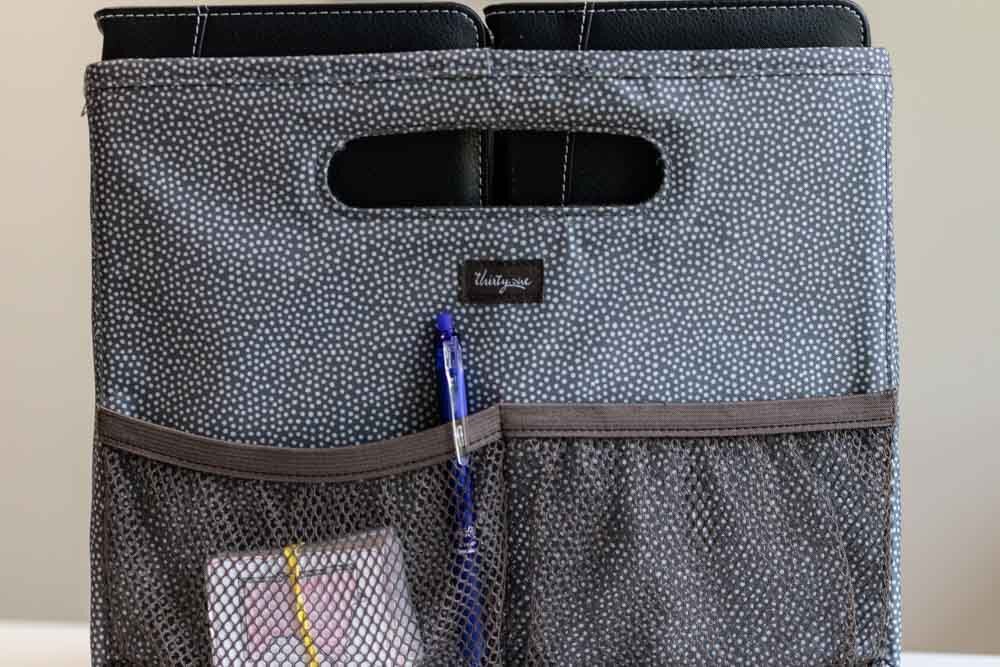
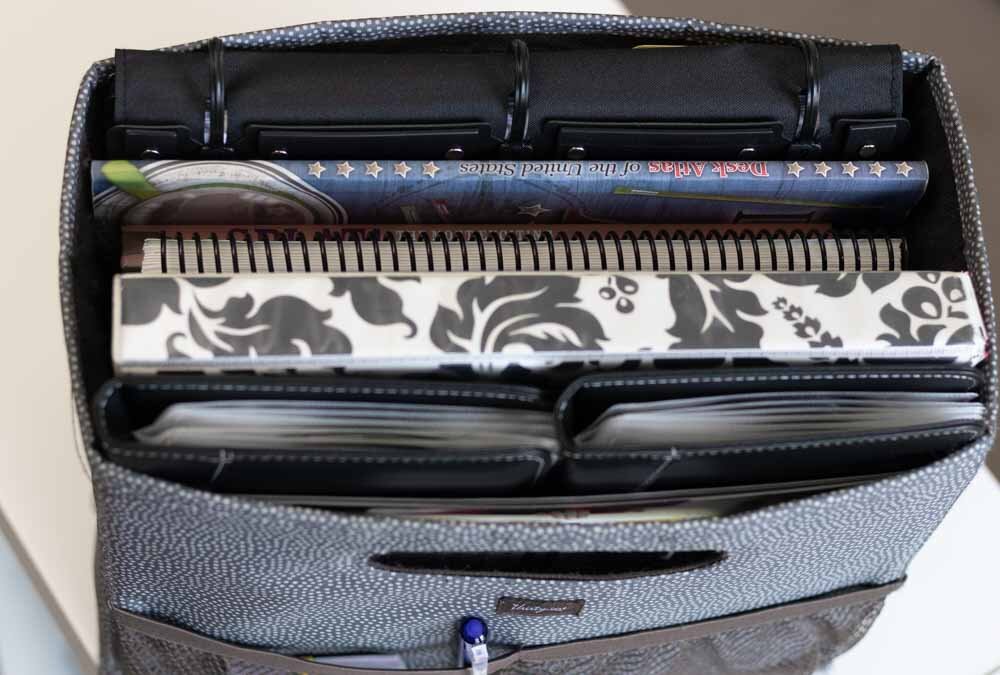
7. Keep a teaching bin for yourself.
You may have several teaching resources that you need at your disposal each day as well. A teaching bin helps me keep up with my children’s lesson guides throughout the school day.
Stay organized.
The system outlined above makes it easy to stay organized throughout the homeschool year. Follow these simple steps at the end of each week to maintain the system.
1. Write the next weekly schedule.
Just as you did before, consult your calendar and plan out your next school week. Attempt to reduce work on days with outside commitments.
If you have an open-and-go curriculum, this might mean switching out weekly schedules from your curriculum binder to your teaching binder. I usually keep a few weeks of open-and-go curriculum plans in my teaching binder so that I have some idea of the books we’ll be covering in the near future.

2. Transfer worksheets.
Move completed work from the right-side pocket of the daily folder to the portfolio binder. For each subject, place the completed work at the end of that section.
Next, consult the weekly schedule to see which worksheets you’ll need for the coming week. Then, move these worksheets from the portfolio binder to the slash pocket of the teaching binder.
3. Prepare the daily folder.
Finally, write out the daily schedule for the first day of the next school week. Add that day’s worksheets to the left-side pocket of the daily folder. If you will run out of notebook paper in the center section that week, remove the used pages and refill it. Unless you need those pages for record keeping, toss them in the recycle bin.
4. Relax.
You’ve made it through another fruitful homeschool week. Everything is ready to go for the following week. Relax and enjoy your much-deserved weekend!
Avoid scope creep.
There are endless possibilities for learning resources in your homeschool. After you’ve selected your resources and made your plan for the year, you will come across products or ideas that you will want to use. When this happens, add that resource to a list of homeschool ideas for the future. Then revisit your list down the road and see which items still resonate with you.
I’ve had some items on my list for years before I purchased them. But the main thing my list proves is that I don’t need the majority of those items that once captured my attention.
When in doubt, simplify.
If you or your child feel overwhelmed by your homeschool plan, look for ways to simplify. Consider reducing the number of subjects for a limited time to see if this helps. Also remember that you don’t have to check all the boxes for a curriculum resource.
You are the teacher. You know your child best. Make any adjustments that help you both have an enjoyable and successful school year. Stay the course, but detour when needed.